WPML For Translations
This guide applies to:
- Basic
- Professional
Introduction
Draw Attention is compatible with WPML. By using WPML for translations, you can translate your interactive image content to your preferred languages!
Note: The WPML integration is compatible with both the Free and Pro editions of the Draw Attention plugin.
Setting up WPML for Translations
Step 1: Install and Activate
Before we can start translating, let’s start by installing and activating WPML. Make sure to download the ZIP file of the latest version from your WPML Account for activation.
Head on over to your WordPress Admin Dashboard > Plugins > Add New and upload your WPML plugin, and then activate it.

Step 2: Select Languages
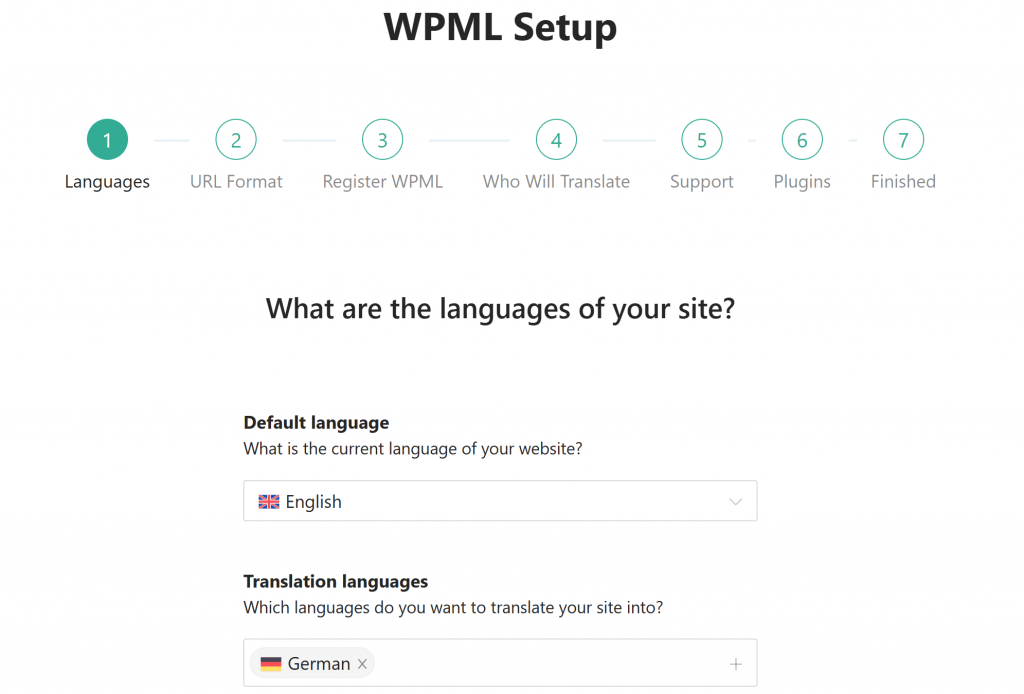
After that, you can head to WordPress Admin Dashboard > WPML > Setup.
In the first step, choose your default language and the languages you want to translate your site into.
Step 3: Finish Setup
You can continue with the Setup Wizard steps to complete the setup.
Watch the following video to learn about how to set up each step in WPML 4.7: https://youtu.be/sZj-LArjgTA?t=10.
In Step 6: Plugins of the WPML Setup Wizard, make sure to activate the String Translations plugin so that you can translate strings and media.
At the end of the Setup Wizard, you can select Go To Translations Dashboard to complete the setup.
Step 4: Enable WPML for Draw Attention
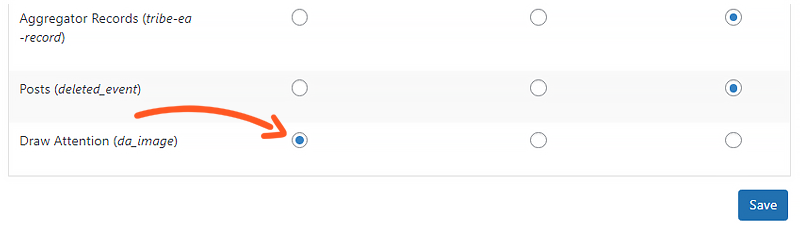
Navigate to your WordPress Admin Dashboard > WPML > Settings and scroll down to where it says Post Types Translation.
Within this section, go ahead and check Draw Attention (da_image) to be Translatable, then Save.
How to Translate Draw Attention
Step 1: Locate and Select Your Interactive Image
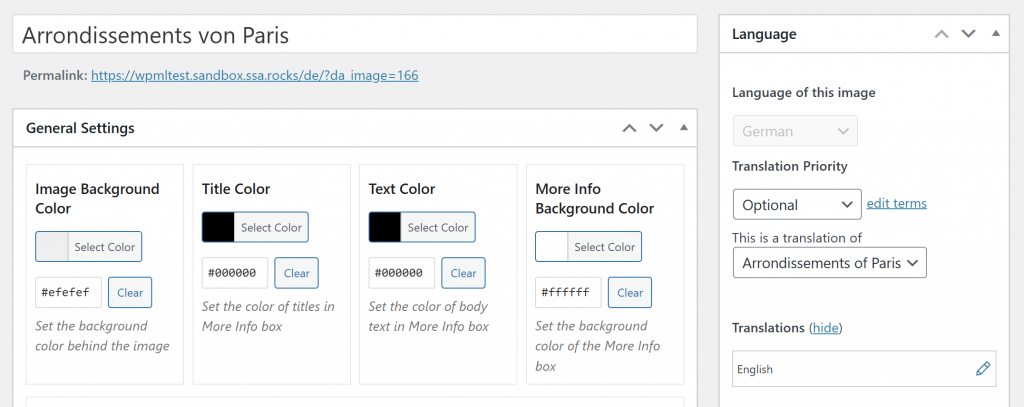
Navigate to WordPress Dashboard > Draw Attention > Edit (select this option for the interactive image you want to translate).
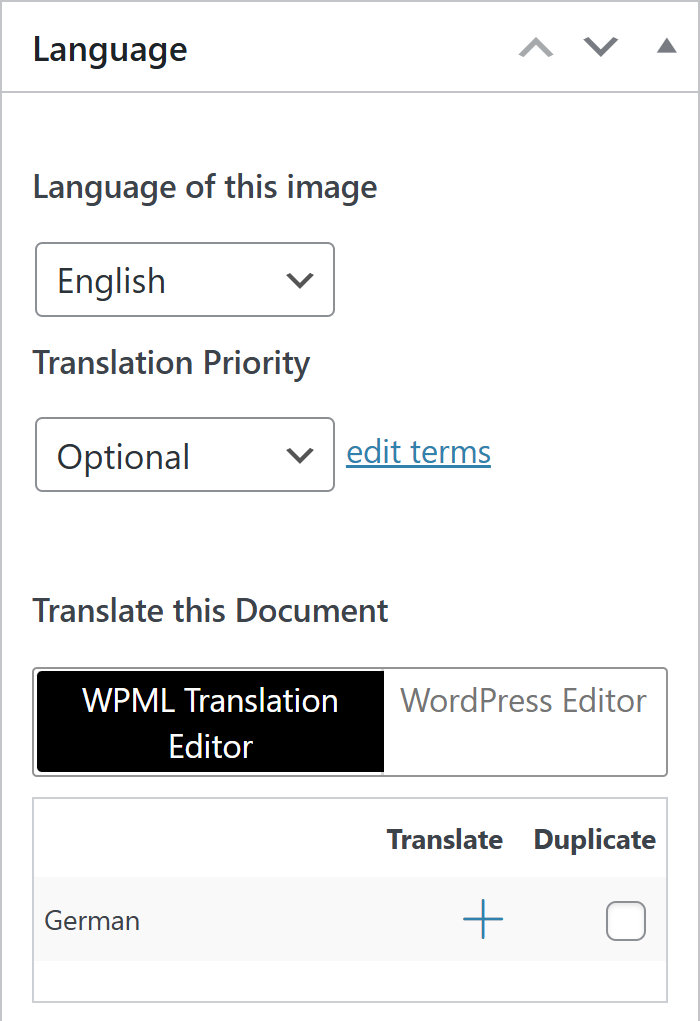
After that, under Language, make sure to switch to the WordPress Editor tab; we recommend that you do not use the WPML Translation Editor.
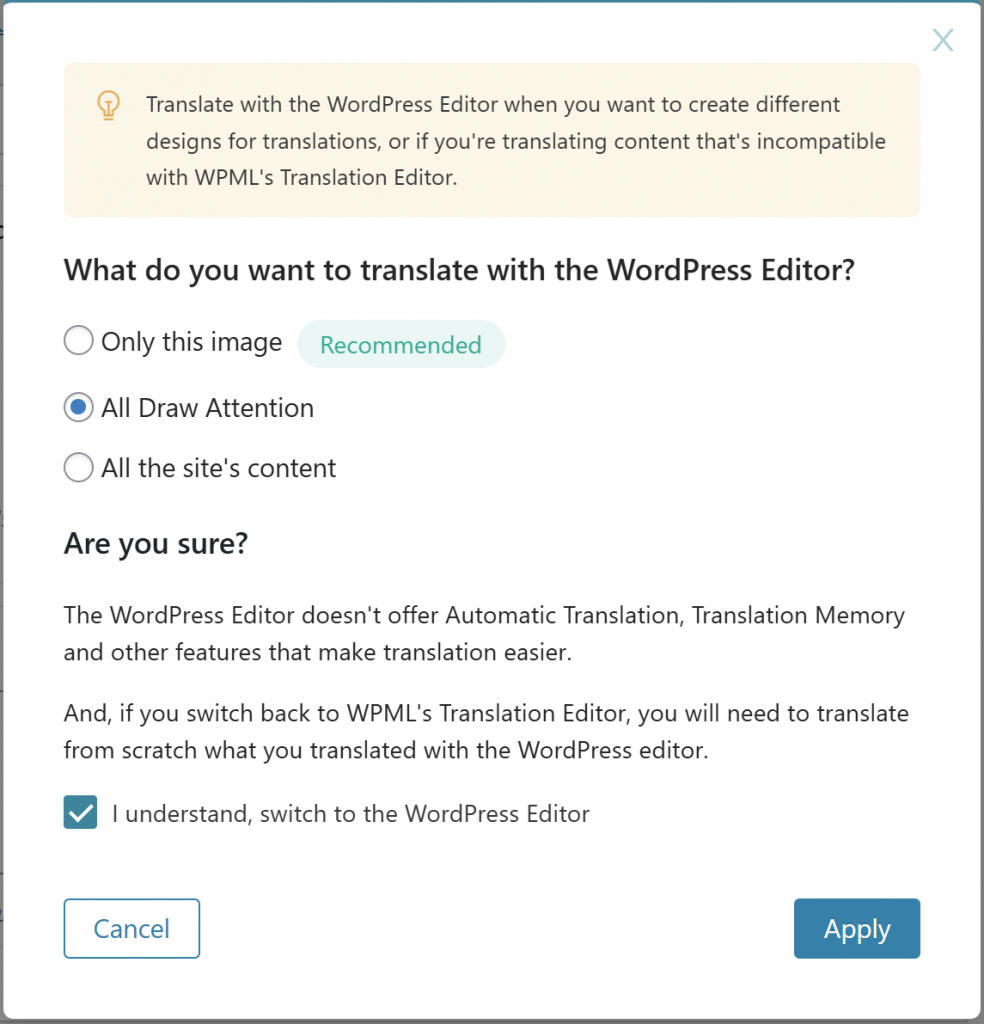
A pop-up will appear when selecting the WordPress editor. On the pop-up, select All Draw Attention from the list and Apply.
Step 2: Select Translation Language
To begin translating your interactive image, you can click the “+” icon in front of the available languages for translation to create the translated interactive image in your selected language.
This option would open your interactive image in the selected language.

Step 3: Recreate Your Hotspots and Manually Translate!
First, publish your translated interactive image so that you can create hotspots. Now, you can begin translating!
Name the interactive image, recreate your hotspots, and manually translate the hotspots and their descriptions into your desired language.
Step 4: Visit the Original Interactive Image
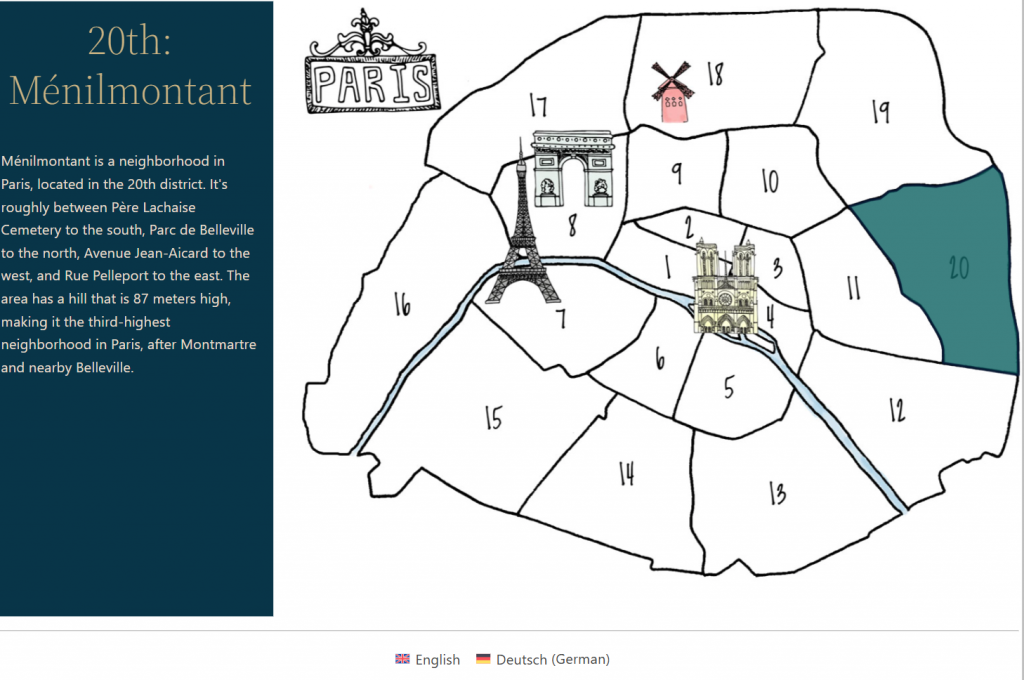
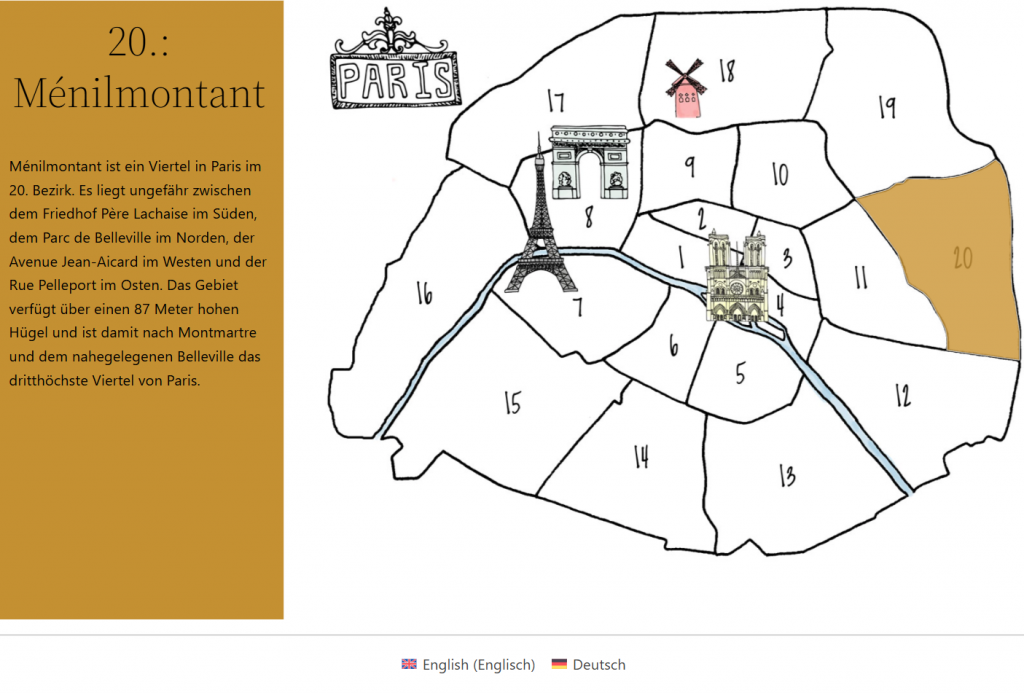
Once you’ve saved the translations, you can switch between languages to view the translated image on the page it’s embedded on. Click the alternate translation to view the interactive image in that language.
(Optional) Create Translated Page
If the translation switcher is not working for Draw Attention, please double-check to make sure a page exists for the translation. If the overall page is not translated, then Draw Attention will remain in the default language, too.
Example: English
Example: Translated to German
Related Guides
-

Complex Hotspot Content
-
FooGallery for Embedding Galleries
-
Polylang for Translations
-
Advanced iFrame with Draw Attention