Styling the Interactive Image
In this guide
Introduction
If you’d like to spruce up your Draw Attention images so that they can look extra neat, you have different options for styling the interactive image:
- Easily change the colors of the interactive image area and text
- Tweak the hotspot’s highlight color and border size
- Create multiple highlight styles
- Or, control more details by creating your own CSS file in your theme
If you haven’t yet, feel free to go ahead and create your first Draw Attention so that you are ready for styling the interactive image.

Styling within the Interactive Image Editor
General Settings
The General Settings allows you to tweak the colors of the interactive image’s background, title, text, and more information areas.
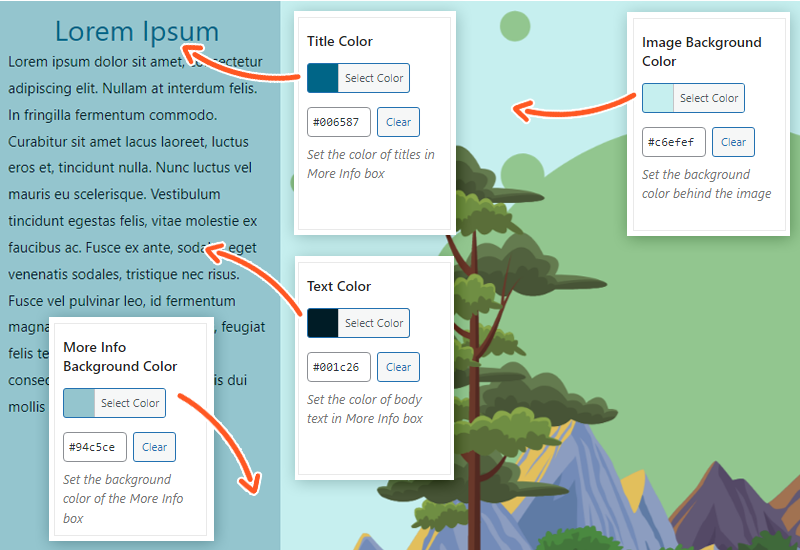
The image background color only appears for transparent images.
Highlight Styling
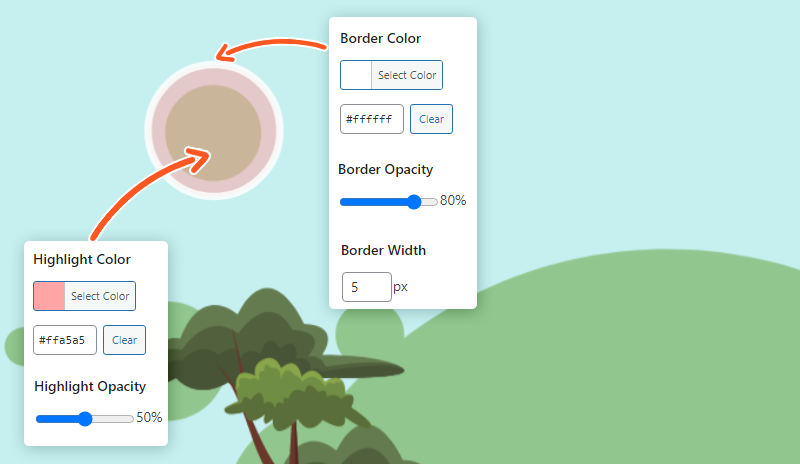
The Highlight Styling section gives you the ability to customize the hotspot’s highlight to your preferences. The highlight color and opacity can be tweaked, along with the border’s color, opacity, and finally the width.
Define Multiple Highlight Styles
If you have the professional edition of Draw Attention installed, you can toggle on a setting called Define multiple highlight styles for this image. This will allow you to define multiple highlight styles and tweak each style to your liking, as well as name them for convenience. You are then free to assign the styles to the hotspots.
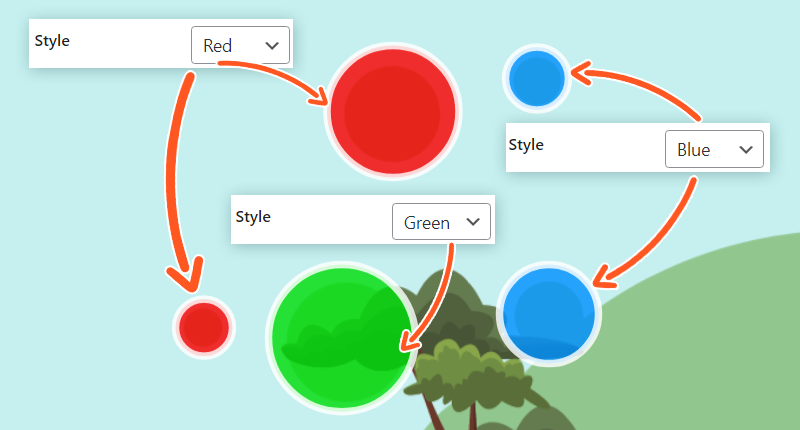
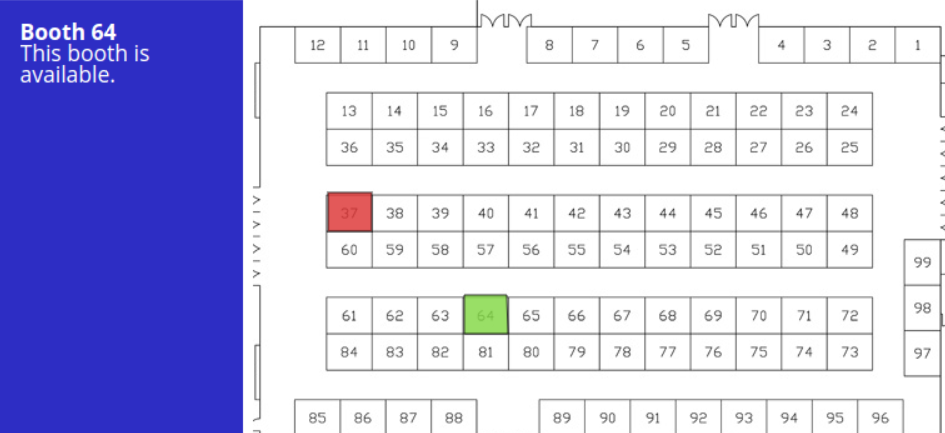
As an example below, we’ll use a trade show floor map to show some booths as sold, and some as available. We’ll highlight sold booths in red, and available seats in green.
This approach is helpful for trade shows, concerts, conventions, etc.
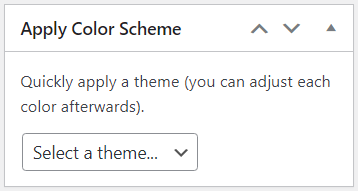
Color Scheme
From within the sidebar on the right-hand side of the interactive image, you can select from twenty color schemes to apply to your interactive image. These are all preset color stylings, so you’re ready to hit the ground running with your awesome image.
For more details and in-depth information on what each setting does, feel free to take a look at this interactive image editor guide.
Advanced Styling with CSS Snippets
Tweak headers, font styles, thumbnails, tooltips, and more with some handy CSS snippets. This can be done within your theme by heading to your WordPress admin dashboard > Appearance > Customize, and then dropping these snippets into the Additional CSS area.
Take a peek at this guide to view a compilation of CSS snippets for styling the interactive image.
Related Guides
-

Hands-on Interactive Image Editor
-
Interactive Image Editor
-
Drawing Tool for Hotspots
-
Advanced Styling