How to Connect Multiple Objects
In this guide
Introduction
We occasionally get a request to associate more than one hotspot with the same More Info content. There isn’t a predefined way to do this in Draw Attention – we have just a one-to-one relationship between image hotspot areas and more info content. But, in this guide, we’ll walk you through a workaround that skirts around how to connect multiple objects.
Connecting Multiple Objects for a Single Hotspot
- Highlight the first area
- Starting the second area
- Minimize & Close the gap
- Adjust the border settings
1. Highlight the first area
Draw a hotspot around the first area just as you would for any other highlightable area through the use of the polygon tool.
2. Starting the second area
Starting from the last coordinate selected, draw from there to the first coordinate on the ‘second’ hotspot. Work your way around the second area, adjusting the coordinates and highlighting that area.
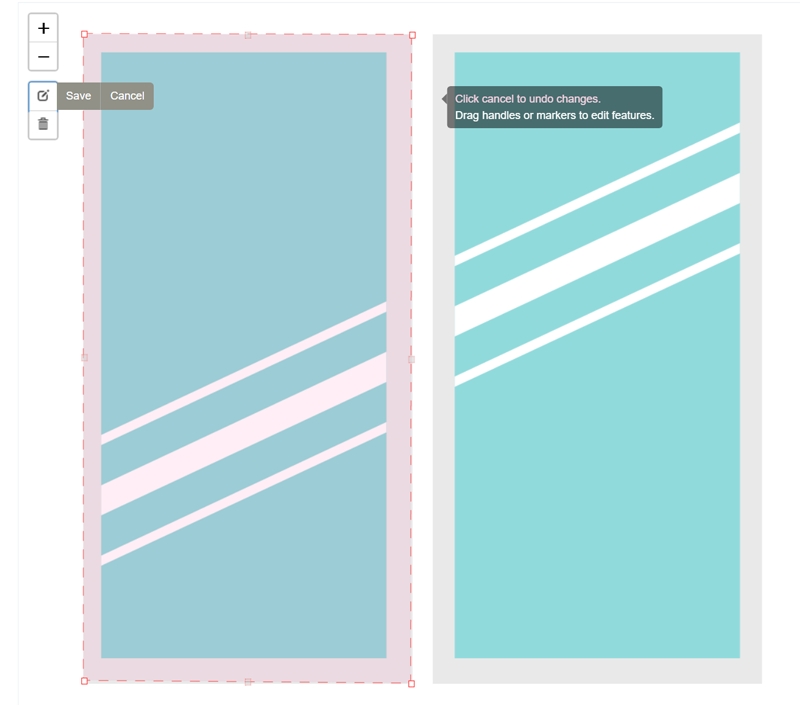
3. Minimize & Close the gap
Create a new point by selecting one of the slightly transparent points in between the existing ones and start dragging the line to the edge of the first hotspot, and create another point to drag down to the bottom of the first hotspot.
Create more points to slowly start outlining around the second hotspot, dragging the final point for the second hotspot enough so that a line forms between the two hotspots.
The key here is to get as thin of a line as possible.
You can also use the Zoom and Pan tool to zoom in more closely to draw a more precise line.
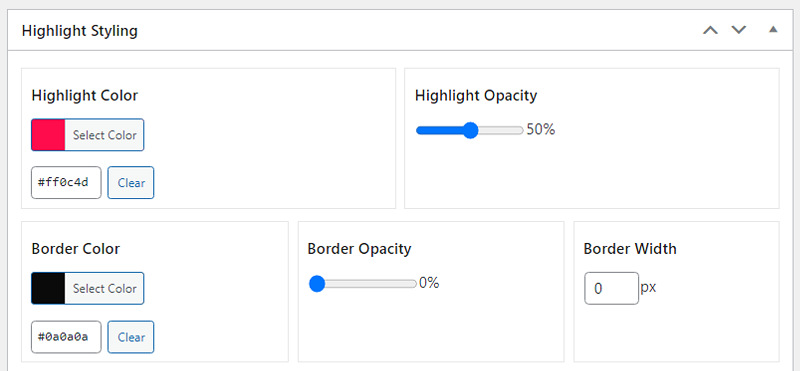
4. Adjust the border settings
Under the Highlight Styling section, set the Border Opacity to 0%, and the Border Width to 0px. This will make the border invisible, and the line connecting your two spots nonexistent.
The Result
Preview the image and try moving your mouse over one of the hotspots. You’ll see both areas highlight and the more info area revealed on click or hover, as expected.
If you can see the connection between the two areas, try going back and adjusting the points to close that up.
And there you have it! With this nifty workaround, you can connect multiple objects.
If you would like some more tips on how to use the interactive image editor, feel free to take a look at this guide.
Related Guides
-

Hands-on Interactive Image Editor
-
Interactive Image Editor
-
Drawing Tool for Hotspots
-
Styling the Interactive Image