Start Here! Create Your First Interactive Image
In this guide
Introduction
Ready to get started with creating your very first interactive image in Draw Attention? Then look no further. This quick-start guide will walk you through the process of creating the image of your dreams and hit the ground running.
Interactive Images Galore
What is an Interactive Image?
Interactive images are images that users are able to interact with via the use of hotspots. Hotspots are what users will be interacting with, whether it be through hovering the cursor over it, or clicking into it directly.
Clicking a hotspot will trigger an action, such as the ability to view content and view more details or redirect you to a URL.
What are Interactive Images used for?
Interactive images are useful for a wide variety of subjects! You can find interactive images being utilized for
- Maps
- Floorplans
- Charts and graphs
- Pointing out various objects within a scene
- and more!
Feel free to check out our demos!
Is this like an image map?
Yes and no. Image maps are a list of coordinates relating to specific images and utilize the <map> HTML tag to map out the coordinates. And, they are not responsive.
Draw Attention images work like an image map but they don’t use the traditional HTML element. The responsive images created by Draw Attention are custom elements that our team built to imitate image maps but with a lot more added functionality.
Please take a peek at our showcase displaying various ways Draw Attention can be used.
Create Your First Interactive Image
Ready to unearth the mysteries of creating your first interactive image? Then let’s begin.
Adding the Image
Navigate to the WordPress dashboard and click Draw Attention > Edit Image (Free edition) or Draw Attention > Add New (Pro Edition) to begin the process of creating your first interactive image.
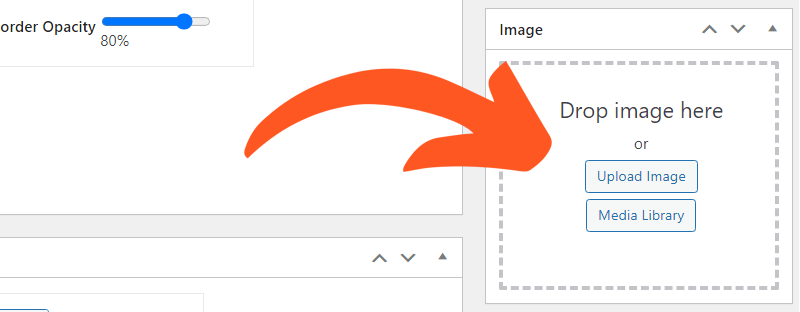
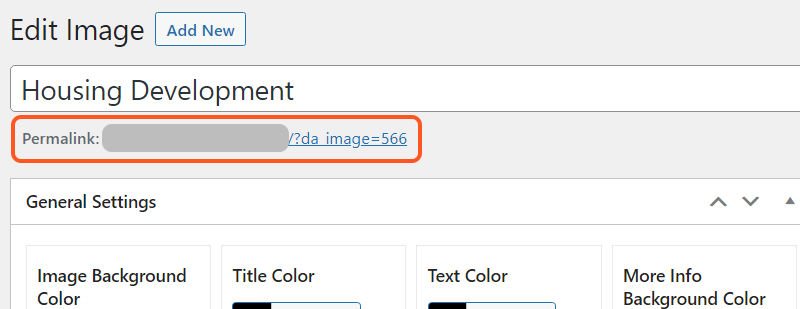
Within this page, you’ll be able to add the interactive image’s Title, adjust the General Settings, and Upload your image.
Before we can drop in hotspots, click Upload Image and drop in the image of your preference.
Creating the Hotspots
The ability to create hotspots is unlocked once the interactive image is saved or published. If it is not saved, the hotspot section will not appear.
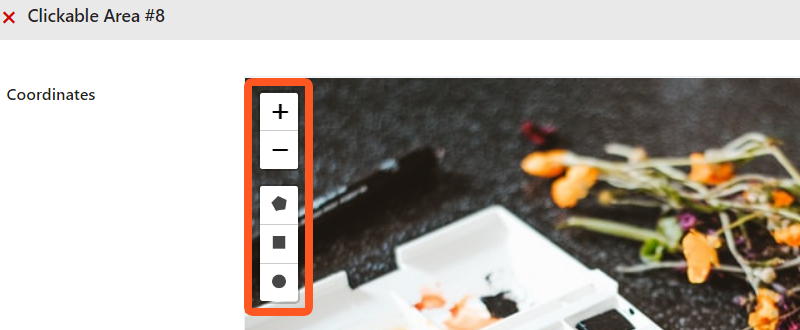
Scroll down to where a section says Hotspot Areas and click on the first hotspot, “Clickable Area #1,” or Add Another Area. Feel free to take a look at the drawing tools you can utilize for creating hotspots, and take note of the zoom-in [➕] and zoom-out [➖] buttons.
The available drawing tools are:
- Polygon – Create a custom polygon shape of your preference
- Rectangle – Create a rectangle shape of any size
- Circle – Create a perfect circle
Once you’ve determined which shape you’d like to use, click the shape, and then click on the image. If you’re utilizing the Polygon tool, you can click several times to begin to form the corners of your shape.
If you’re using the Rectangle or Circle tool, you can click and drag the shape to change its size.
Moving the Hotspot
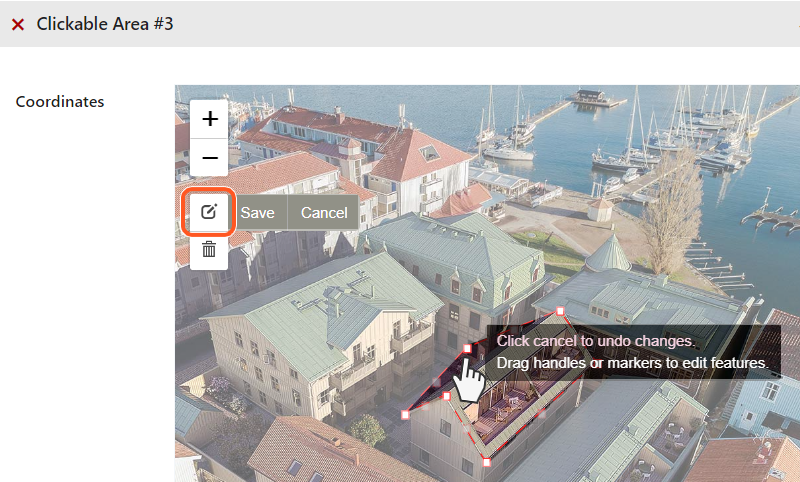
To move the hotspot around, click the Edit Layers button and select the marker that should be in the center of the hotspot to drag the image around to your preferred location.
Uh Oh, I Made a Mistake!
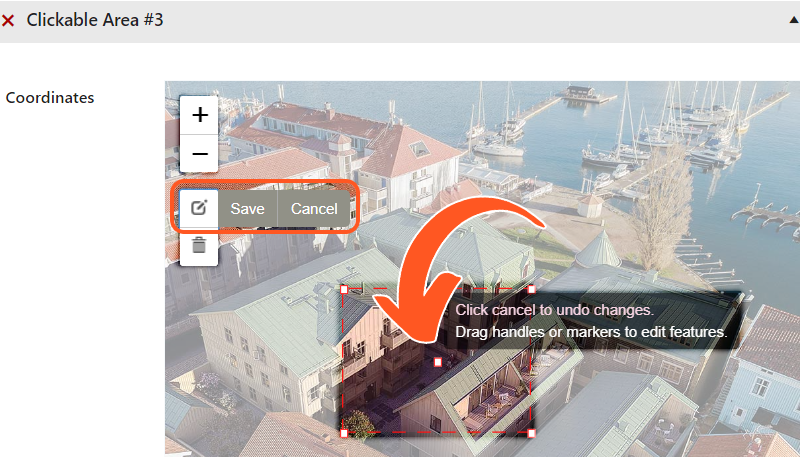
Never fear! If you feel you have made a mistake while creating your hotspot, feel free to click the Edit Layers. Drag the handles or markers of the image to make your changes. Make sure you Save your changes afterward.
If you would rather start over, you can also click the Delete Layers tool and begin anew.
Hotspot Information
After sorting out the shape and placement of your first hotspot, assign it a Title and Action, and provide a description for the hotspot. The description field utilizes a visual and text editor. This means that you are free to format the text like you would for the WordPress text editor.
If you’re curious of learning more about each of the settings and options available, feel free to take a look at our Interactive Image Editor Guide. This awesome guide provides more in-depth information.
Finalizing the Creation of the First Interactive Image
Once you’re done glancing over the interactive image and its settings, click Update. After saving the changes, you can gaze upon the interactive image in its fully glory with awe. The permalink sits below the Title input if you want to preview it.
Next, learn how to display the interactive image on your site, take a look at this nifty guide.
Video Walkthroughs of our Interactive Image Maker
Free Edition
A video walk-through, brought to you by one of our lovely customers, to help you create your first image and understand all the settings and options available!
Pro Edition
This video walk-through will help you create your first image and understand all the available settings and options.
New Drawing Tool

Related Guides
-

Installing Draw Attention
-
Hands-on Interactive Image Editor
-
Interactive Image Editor
-
Feature Overview